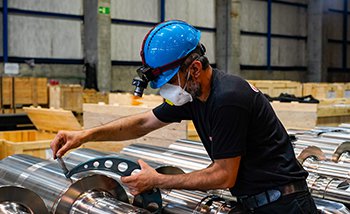
It is the first method used to identify defects on a product's surface. Depending on the needs, auxiliary equipment is also used (magnifying glass, measuring instruments, etc.). Visual inspection, which is a non-destructive testing method, is usually done before applying another non-destructive testing method.


